BUILDING A MODEL FISH TRAP
Suggested Grades: ALL
Note: This can be done at your school or during a field trip to the Fish Traps in the Estuary. We have set it up on the grassy area in front of Mansfield Drive Parking lot and had children interact with the model, 1/8th the size of the real thing, before going out on to the flats to help them visualize what they are seeing.
Driving Questions
- What is a fish trap?
- How were they built?
- Why were they built?
- How do they create sustainable fishing?
Learning Intentions
- I can describe a Fish Trap
- I know how it was placed in reference to the tides and shore.
- I know why the Fish Trap could trap many fish.
- I can talk about how fish traps caught fish sustainably.
Materials
- Fish Trap Model – Available from Project Watershed (or you could have your class gather and prepare their own components)
- Stakes – 1/2 inch thick, 12-15 inch long pieces of wood
- 13 Wooden base pieces – 2 by 4’s with 1/2 inch holes drilled in them
- Walls – 8 Pieces of burlap
- 25 Salmon on sticks
- Full Size Measurements for Chevron Trap
- Ancient Fish Trap Information
Curricular Competencies
Science/Social Studies/Language Arts:
- Processing and analyzing data and information
- Comprehending and connecting
- Communicating
- Working cooperatively to confirm what they have learned
Lesson
- Review the information and video at Ancient Fish Trap Information.
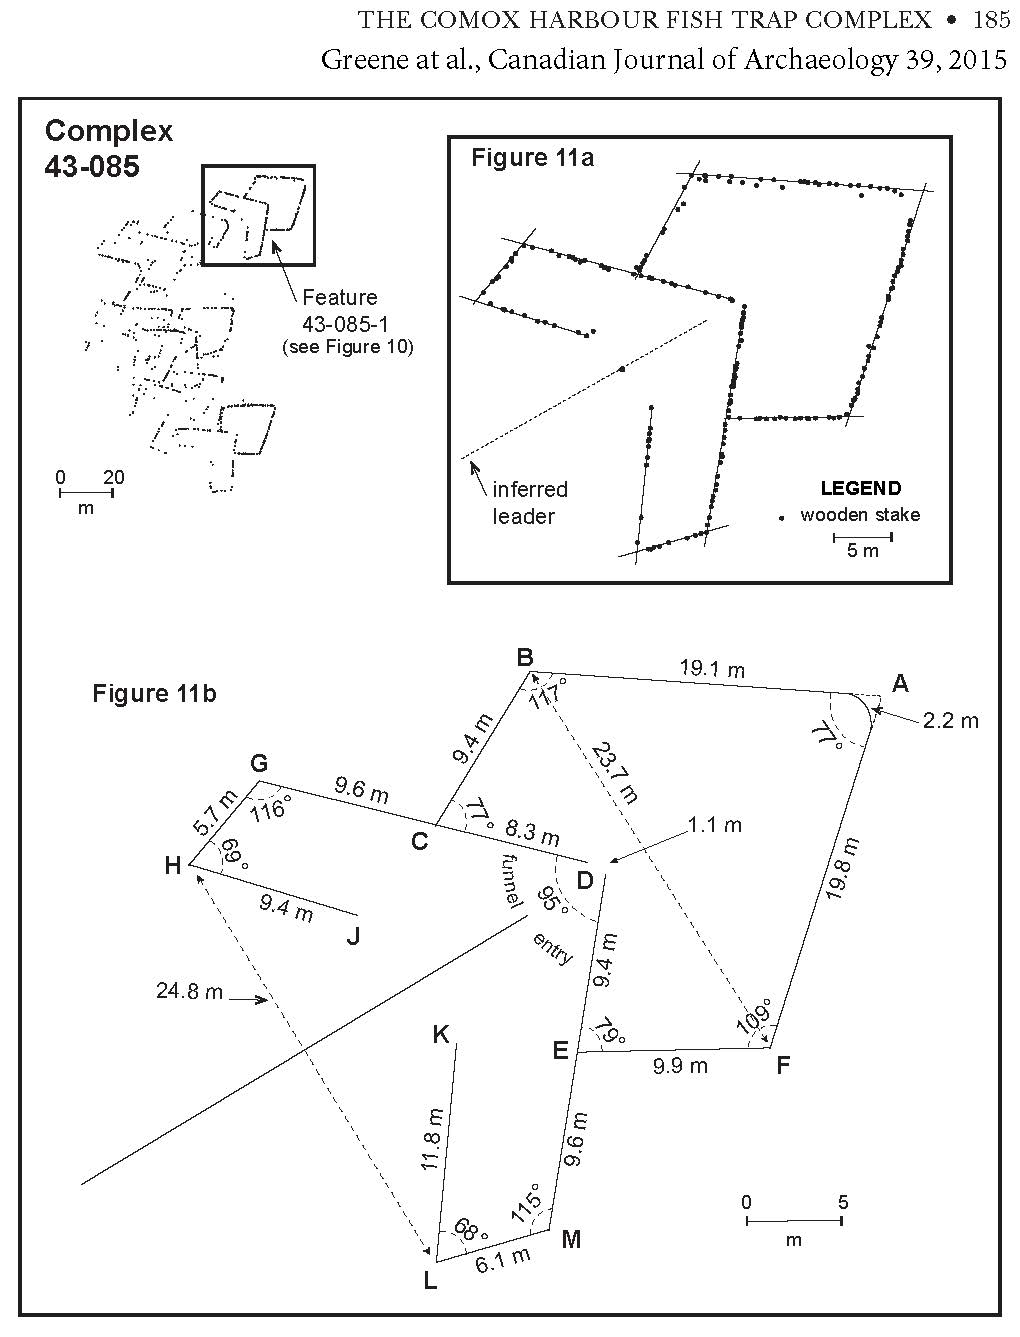
- Optional – for older students – show them the Diagram of a Chevron Fish Trap and have them calculate the sizes of the model (our model is 1/8th the size so all measurements need to be divided accordingly but they could create other models).
- Optional – have students gather the stakes needed to create the trap. The stakes can be branches of trees or saplings that get peeled – maple are easiest to peel and often saplings are the right diameter. If you have a woodworking class the base pieces could be created as well. We use burlap for the woven walls but other things like woven newspaper/construction paper or sushi rollers for smaller traps could be used.
- Optional – have children color/draw salmon and attach these to wooden BBQ skewers or use the ones supplied.
- Assemble the trap – we split the class up into groups and each member of the group has a certain job.
- Lay out the base pieces by matching the letters – A to A, B to B etc… The deep end of the trap or nose (A/A) should be farthest from the shore. The leader line should be perpendicular to the shore as in the diagram.
- Insert stakes into drilled holes in the bases
- Weave walls along the stakes. Note there is a gap between the inner stakes and base pieces C-D and G-H where the fish enter – no netting should block this.
- Discuss salmon behavior with the students. Salmon Behavior: when salmon get scared by a shadow (like from a stake) or predator they go to deeper water where it is safe. The will follow along a bank or the leader line instead of swimming away from it. Salmon follow one another and they tend to swim in a counter clockwise circle. Once the salmon are in the trap they follow each other in a circular manner and don’t see the entrance.
- In their groups have children take a salmon on a skewer and line up along the “shore”. Have them to mill about. Tell them that when you count down from 10 to 0 they will have to stick their salmon in the ground where they are standing at that time. After a few moments of them milling around near the shore have something happen, like they see a predator and that they need to swim to deeper water to be safe. Start counting down from 10. When you get to zero make sure each student puts down their stick where they are standing. Repeat for all groups. If some of the salmon are put down along the leader line or in the lower wings of the trap pick them up and show how they too will eventually get into the end of the trap.


Community Connection
Contact Project Watershed or the Aboriginal Education Department to demonstrate this activity at your class or on a field trip.